The Hospital Gave You a USB (or a ZIP Download)?
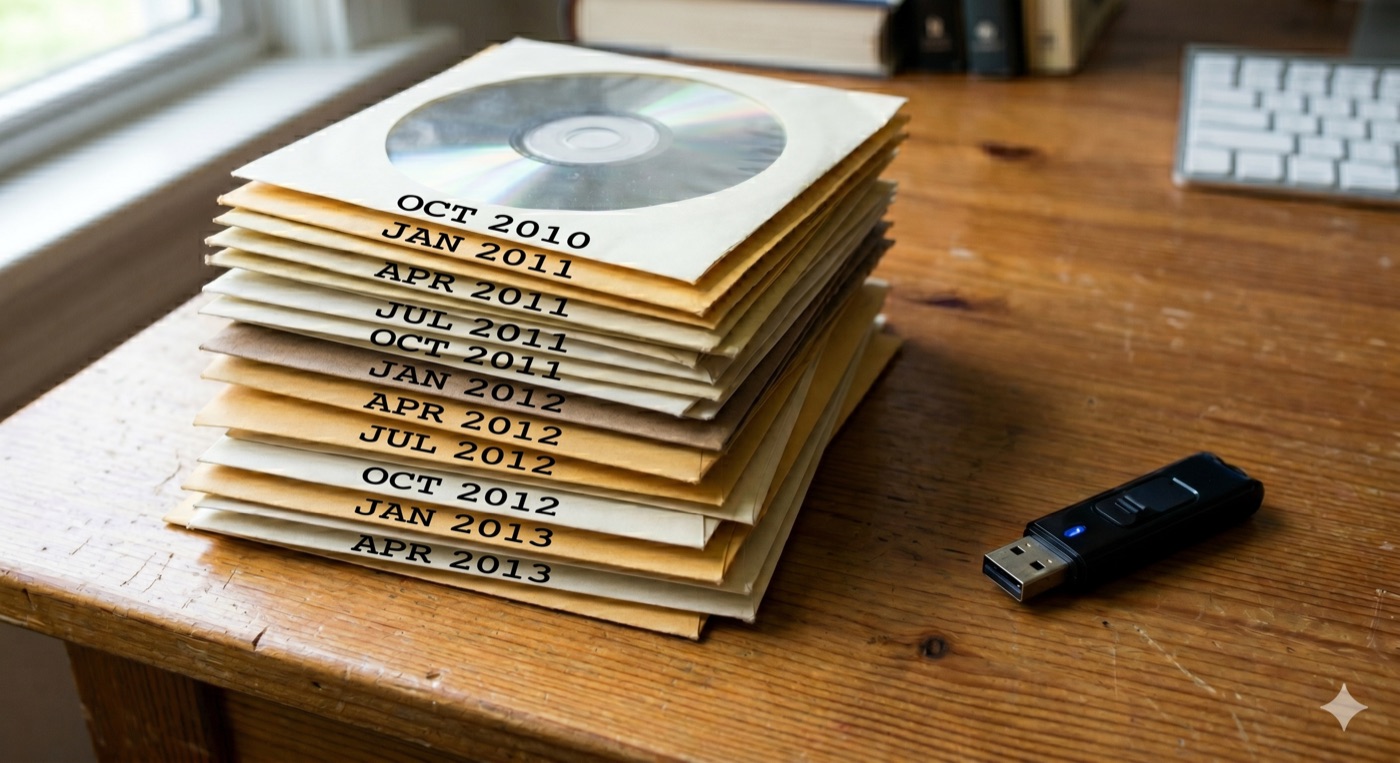
CDs are disappearing. These days your scans arrive in two new ways: a USB stick handed to you at the imaging desk, or a ZIP file downloaded from a patient portal like MyChart. Since v0.1.3, MIA Toolkit treats both as first-class citizens — they go into the same organized archive as your discs, in about two minutes.
Where your scans hide
- USB sticks from the clinic usually contain a DICOM folder, a viewer program (Windows-only, often broken), and sometimes a PDF report.
- Portal ZIP downloads are the same thing in a compressed file — and sometimes it's zips-inside-zips, one per study. MIA Toolkit unpacks all of it for you.
Adding a USB or folder
- Open MIA Toolkit → Guided Setup → the Add your studies step (or use the Add Your Studies tool on the home screen).
- Click 📁 From a folder or USB and choose the drive or folder.
- The app pre-scans and shows you what it found — for example: 1,243 files · 3.2 GB · 1,180 medical images detected. If it finds no medical images, it warns you loudly before copying anything.
- Confirm, and everything is copied into your project with the same careful, verified, resumable copy used for discs. Unplug-and-retry is safe.
Adding a portal ZIP
- In your patient portal, find the imaging section and download the study — choose the DICOM option if it's offered, not "JPEG" or "report only."
- In MIA Toolkit, click 🗄 From a ZIP file and pick the download.
- The app extracts it (nested zips included), copies it in, and tells you how many medical images it found.
That's it. The Review step now lists the new studies alongside everything from your CDs, and the final archive on your USB includes all of it — deduplicated, so a study that arrived twice is stored once.
Three small tips
- Choose DICOM in the portal when possible. JPEG exports lose the medical data your radiologist needs.
- Keep the original USB/ZIP until you've seen the studies in the Review step — then it's safely in your archive (and your backup).
- Everything happens on your computer. No upload, no account, no internet needed — the same privacy promise as always.
MIA Toolkit helps you organize and deliver your own medical images. It does not interpret images, is not a medical device, and does not replace professional radiological review. No warranty.