Your Scans Are on the USB — Now What?
The copy finished. All your imaging is on one USB drive. It is tempting to call it done and toss the drive in your bag until the appointment. But a few minutes now, while you are at your own computer, dramatically raise the odds that the drive "just works" when it matters, in front of a doctor, at a second-opinion clinic, or in a relative's hands.
This guide walks through the small, calm steps that turn "the files are on the drive" into "anyone can open them." It includes a comparison of free DICOM viewers for Windows, Mac, and Linux, and the one trick that helps most: putting a viewer right on the drive next to your images.
Step 1: Confirm the Copy Finished Cleanly
Before anything else, make sure the transfer actually completed and the files are intact.
If you used MIA Toolkit, this is largely handled for you: it copies every file, then runs a verification pass that re-checks a sample of the files to catch a drive that says it saved your data but did not (a real problem with cheap or counterfeit sticks). It also writes a small DELIVERY-LOG.txt to the drive recording what was copied. If it reported success, you are in good shape.
Either way, do two quick things:
- Look for the table of contents. Open the drive and confirm there is a file named
DICOMDIRat the top level, alongside the image folders. This is the file a medical system looks for first. - Eject safely. Use "Eject" (Mac) or "Safely Remove" (Windows) before pulling the drive out, so the last files finish writing. Yanking a drive early is a common way to end up with a half-written, unreadable archive.
Step 2: Test It Yourself, Before the Appointment
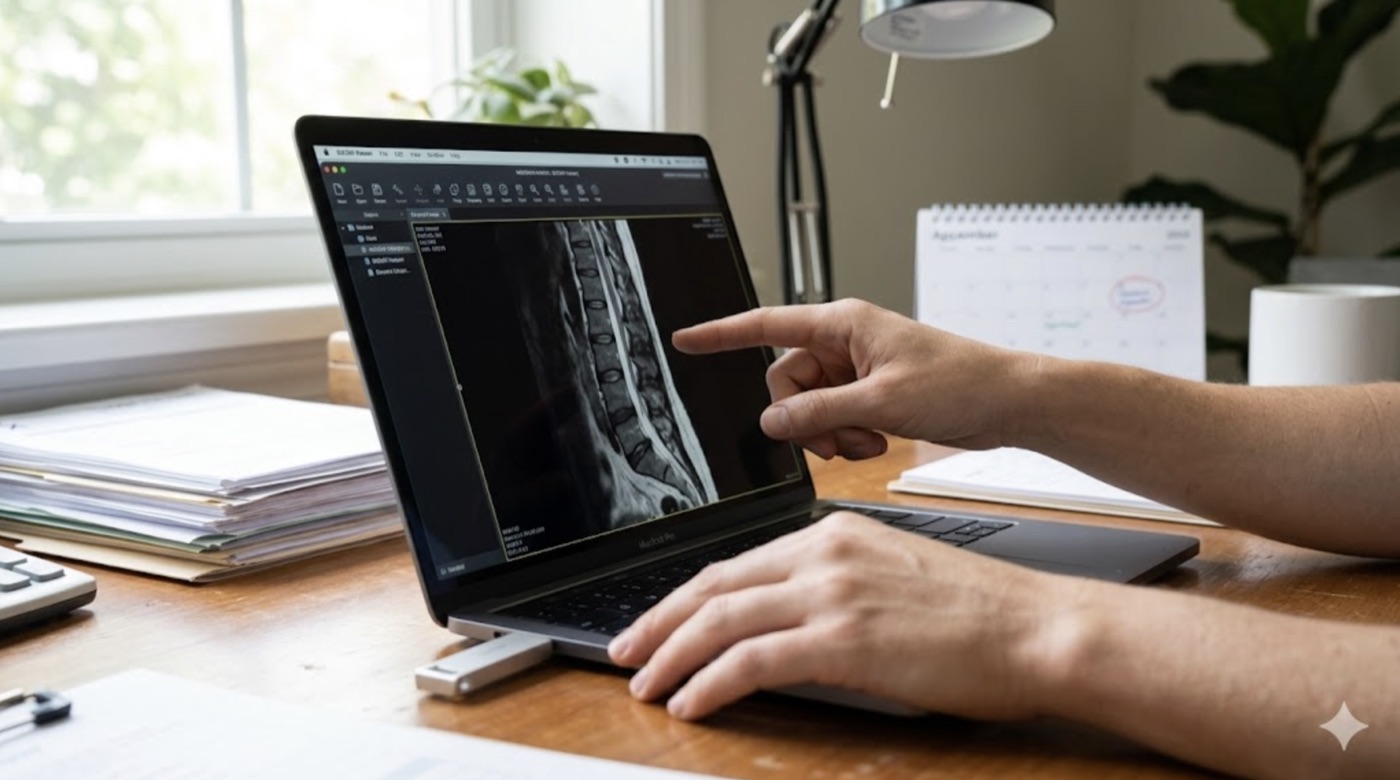
This is the single most valuable thing you can do, and almost nobody does it: open the drive on a computer and look at the images yourself. If it opens for you, it will very likely open for them. If it does not, far better to find out now than at the front desk.
To do this you need a DICOM viewer, because medical images do not open with a normal double-click. The next step covers which one to use, and how to make the drive open for anyone, not just you.
Step 3: Put a Portable Viewer on the Drive
Here is the trick that removes almost all the risk. A "portable" viewer is a program that runs straight from the USB drive without being installed. If you copy one onto the same drive as your images, then whoever you hand the drive to, a specialist, a small clinic, a family member, can open your scans even if they have never seen a medical image file and cannot install software on their computer.
Big hospitals usually have their own professional systems that read your DICOMDIR directly. The portable viewer is your safety net for everyone who does not.
Free DICOM Viewers, Compared (Windows, Mac, Linux)
A handful of viewers are worth knowing. Each line notes what it runs on, whether it travels on the USB, and what it is best for. They all open a DICOMDIR.
Weasis — the all-OS choice. Runs on Windows, Mac, and Linux. Free and open source. Has a portable version that rides right on the USB drive, so it opens on almost any computer the drive meets. This is the one to use if you pick only one.
MicroDicom — simplest for Windows. Windows only (it can run on a Mac through extra software called Wine, but that is fiddly). Free for personal use. Portable, so it travels on the drive. A lightweight, easy pick when everyone who will open the drive uses Windows.
Horos — for Mac users. Mac only. Free and open source. It installs onto the computer rather than running from the USB, so it is best for viewing on your own Mac, not for a drive you pass around.
OsiriX Lite — basic Mac viewing. Mac only. Free with some limits. Also installs rather than traveling on the drive.
RadiAnt — fast, but paid. Windows only. Well-liked and quick, but it is paid software with a free trial, and only loosely portable.
3D Slicer / Aliza — cross-platform, but heavier. Run on Windows, Mac, and Linux and are free and open source, but they are more technical and install onto the computer. Useful for power users; overkill for simply viewing a drive.
The simple takeaway: put the portable version of Weasis on the drive. It is free, open source, runs on Windows, Mac, and Linux straight from the USB, and it reads a DICOMDIR. That one choice covers almost any computer the drive might meet. If you know for certain everyone who will open it uses Windows, MicroDicom is an even lighter, simpler option that also travels on the drive.
A quick, honest note: software licenses, download links, and features change over time. The details above were accurate when this guide was written. Please verify the license and the official download page yourself before installing anything. We do not endorse any vendor; these are simply options worth knowing.
How to Add the Viewer
- From your own computer, download the portable version of Weasis (or MicroDicom for Windows) from its official site.
- Create a clearly named folder on the USB drive, for example
Viewer, and copy the portable viewer files into it. Keep it separate from your image folders. - Leave your images and the
DICOMDIRfile where they are, at the top level of the drive.
Step 4: Add a "READ ME FIRST" Note
Create a plain text file on the drive named READ ME FIRST.txt. A couple of friendly sentences is plenty, for example:
These are my medical imaging studies in standard DICOM format. To view them: open the "Viewer" folder and run the viewer program, then open the file named DICOMDIR in the main folder. Most hospital systems can also import the DICOMDIR directly.
This tiny note turns a confusing drive into a self-explanatory one.
Step 5: Label It, and Keep a Backup
- Label the drive physically (a small sticker) and digitally (the drive's name), so it is not mistaken for a blank stick.
- Keep a second copy of your archive somewhere safe, on your computer or another drive. The whole point was to stop relying on a single fragile copy; do not recreate that problem with one precious USB stick.
Step 6: If the Doctor's Computer Still Cannot Open It
Stay calm; this is almost always fixable.
- Open the portable viewer on the drive instead of relying on their system. This bypasses most problems.
- Check the drive's format. It should be FAT32 or exFAT, not NTFS, APFS, or a Linux-only format. (See our companion guide on formatting a USB drive for maximum compatibility.)
- Confirm the
DICOMDIRfile is present and at the top level of the drive. - Try another computer or USB port. A flaky port or a tired old machine is sometimes the real culprit.
- Suspect the drive itself if files are missing or it is extremely slow. A failing or counterfeit stick can corrupt a copy. Rebuild the archive onto a known-good drive.
Where MIA Toolkit Fits In
MIA Toolkit is the free desktop app, for macOS and Windows, that does the gathering and organizing before this stage: it copies your hospital imaging discs, builds a readable inventory of every study, and assembles one standards-compliant DICOMDIR archive on your USB drive, verifying the copy as it goes. That well-formed archive is exactly what the viewers above are built to open. Pair it with a portable copy of Weasis on the same drive and you have a package almost anyone can read.
Your privacy stays yours throughout. MIA Toolkit works completely offline. There is no account, nothing is sent to the cloud, and there is no tracking. And it is free, and always will be.
A plain-language disclaimer: MIA Toolkit helps you organize and deliver your own medical images. It is not a medical device. It does not interpret or read your images, and it cannot tell you what they mean. It does not replace a radiologist or any other doctor. The viewers mentioned here are made by other companies and are listed only as options; verify their licenses and downloads yourself. Everything here is provided without any warranty.
If you would like to try it, you can download MIA Toolkit for free — there's a step-by-step guide. Questions are welcome at support@miatools.tech.
FAQ
How do I know the transfer really worked?
Check that a DICOMDIR file sits at the top level of the drive, eject the drive safely, and ideally open the images yourself in a viewer before your appointment. MIA Toolkit also verifies a sample of the copied files and writes a DELIVERY-LOG.txt to the drive.
Do I have to install a viewer? No. A portable viewer like Weasis runs straight from the USB drive without installing anything, which is why placing one on the drive is so helpful for whoever receives it.
Which viewer works on the most computers? Weasis. It is free, open source, and runs from the USB on Windows, Mac, and Linux, and it opens a DICOMDIR. MicroDicom is a simpler Windows-only alternative that also travels on the drive.
Will a hospital be able to open my drive without the viewer? Usually yes. Hospital imaging systems are designed to import a standard DICOMDIR archive directly. The portable viewer is a friendly backup for smaller offices, second-opinion clinics, and relatives who do not have such a system.
The drive opens on my computer but not at the clinic. Why? Most often it is the drive's format (it should be FAT32 or exFAT), a missing or misplaced DICOMDIR, or simply a different, older computer. Opening the portable viewer from the drive bypasses most of these issues.